
Freshdesk and Jira are comprehensive platforms that form the center of their teams’ workflows.
Teams using them frequently work together, creating a need to share data. That’s always a challenge, particularly with the sheer volume of complex data used by modern teams. Sharing it manually is error-prone and slow. A Freshdesk Jira integration solves these problems, bringing speed and reliability to your data exchange.
This guide is for support teams and dev teams looking to set up an integration, particularly IT ops and project managers who already have teams on one or both of these platforms. You’ll learn the ins and outs of setting up an integration and how to implement an optimal solution.
Why Integrate Jira and Freshdesk?
There are several benefits to integrating Jira and Freshdesk:
- Instant Updates: An integration can update shared data instantly. That means your teams can react to situations as they arise instead of waiting until someone contacts them with the required details.
- Reliable Data Exchange: Gathering information is time-consuming and error-prone. Teams often guard data carefully, and individuals may not know what they’re able to share. An integration ensures that the needed data is exchanged reliably. Bonus points if your integration allows each team to specify exactly what is shared.
- Automated Workflows: Automating workflows takes the load off team members. More advanced integrations can filter or even modify data, allowing for more detailed control. For example, you could assign issues to a certain person, or prioritize them based on any metric the data includes.
Integrations can help you in all kinds of situations. They’re particularly helpful in getting data captured by customer-facing teams delivered to others, for example, when escalating bug reports to developers, or sharing feature requests throughout your organization.
Methods to Sync Jira Data with Freshdesk
There are several potential approaches to set up a Freshdesk Jira integration:
- Using the Native Freshdesk-Jira Integration App
One option, the easiest, is to use the native Jira Plus app available in the Freshworks marketplace. This allows you to link Freshdesk tickets to Jira work items (formerly, issues), synchronizing the status and priority fields and viewing customer conversations in Jira. It’s simple and straightforward, but lacks extensive customization options.
- Custom API Integration (Advanced)
Another option is to build your own integration logic. That means writing custom code that fetches the required data from both the Freshdesk and Jira APIs and then routes it according to your precise needs. This is a good idea if you need to manipulate data at a deeper level, or if you want to avoid using third-party tools for security or compliance reasons. It is a high-effort solution, though, requiring considerable development effort and likely ongoing maintenance.
- Using a Third-Party Integration Tool (e.g., Zapier, Exalate, etc.)
Another option is to use a third-party integration tool. These tools offer more custom features than native integrations and can help you integrate with other platforms. One such option is Zapier, which allows you to create simple workflows moving data between platforms. Another is Exalate, which allows for a high degree of customization and lets you choose how data is mapped on a granular level.
Third-party offerings give you more flexibility than native options, without the extra effort of rolling your own system. Which to choose depends on your needs. Zapier is good for a quick fire-and-forget automation, but Exalate allows for deep workflow integrations that require heavy customizations.
Jira to Freshdesk: Sync Options and Customizations
As well as different approaches, there are various details to think about when setting up an integration. It’s important to be aware of the options at your disposal so you can make the best choices.
- What can be synced? You could sync any or all ticket fields, like ticket status, comments, and the like. You may or may not need all of these, though, depending on the use case or the team workflows. Attachments and inline images can also be useful to share, provided your syncing solution supports them. It’s always better to check the available fields for synchronization offered by the tool.
- The sync direction. A one-way synchronization copies data from one source to a destination. With a two-way synchronization, it goes both ways. One-way syncing is great for letting others know what work is being done by delivering updates, in case of MSPs connecting to multiple clients, or for one-off migrations. Two-way syncs allow more intimate collaboration by integrating workflows end-to-end.
- Customization. Script-based customizations allow for granular control of every option and allow you to apply code logic, creating data flows that share exactly what you want, potentially even modifying or translating data along the way. Exalate’s Script mode makes this very straightforward. With AI Assist, business users without coding knowledge can generate their own sync scripts with prompts.
Best Practices for Managing Synced Jira Freshdesk Workflows
To optimize an integration, there are several best practices to consider:
- Define Ownership of the Integration: When data is shared, it’s important to be aware of who is responsible for syncing it, what the source of truth is in the event of a conflict, and who to consult when making changes. Defining these makes things easier and makes it less likely for teams to step on each other’s toes.
- Consistent Field Mapping: Follow consistent rules when mapping data, and have any exceptions clearly defined. It’s best if fields map to identically named fields or those that are easy to identify as similar, and to provide documentation for those instances when this isn’t the case. For example, the assignee on one team’s system could be the contact person on another’s.
- Regularly Review Workflows and Syncs: Small details can make a big difference with integrations, and you can improve your workflows considerably with minor tweaks. If data is being sent from A to B, you may improve things by tuning the data that is shared, or perhaps by copying it from B to C after modification.
- Consider Built-in System Limitations: For example, if Jira is set up to auto-close tickets when resolved, it may have implications for Freshdesk if that data is synced. Make sure both systems can handle changes made by each other.
Use Cases for Freshdesk Jira Integration
There are many situations where an integration can help. Here are a few specific examples.
Automatically Escalate Tickets from Freshdesk to Jira
Most likely, your support team lives in Freshdesk, and you need to send some tickets over to the development team using Jira. Syncing tickets between Freshdesk and Jira lets you build workflows between them easily. You can keep most fields in sync, but some fields, like the status, can differ, depending on what stage of the workflow the ticket is at. For example, a ticket could be “in progress” on Jira, because your engineers are handling it, so “pending” on Freshdesk, because your support team is waiting for the engineers.
This particular scenario can also be helpful when support teams have to categorize tickets based on issue types (e.g., technical issues, billing inquiries, etc.). With an integration, you can automatically route specific types of Freshdesk tickets to the right Jira work type. For example, if a ticket involves a technical bug, the integration can automatically send it to the development team in Jira, ensuring it gets attention immediately.
Linking Multiple Customer Requests to a Single Work Item
Customers often raise similar bugs or issues. Engineers need to handle these through a single Jira work item. By using a Freshdesk Jira integration, a Jira work item can sync with data from multiple Freshdesk tickets to achieve this. The integration will need to provide your teams with a way to control which tickets are synced to which, potentially splitting or consolidating items.
Cross-Team Visibility for Product Development
Product managers or other teams need visibility into the work both support and development are doing. With a Freshdesk Jira integration, they can see a holistic view of how customer issues are being resolved and how development is progressing. This visibility helps teams make data-driven decisions, prioritize features, and identify emerging problems faster.
Sync Freshdesk Ticket Status with Jira Service Management
Integrating Freshdesk with Jira Service Management helps automate ticket management, especially when tickets need to be escalated between multiple support levels.
As support tickets progress through different levels—like from Level 1 to Level 2 or to engineering, this integration ensures that each team sees the most up-to-date status without needing to manually update or transfer data between systems. For example, when a Level 1 support agent escalates a ticket to Level 2 or to engineering, the status update in Freshdesk automatically reflects in Jira. All other relevant details are automatically passed. This eliminates delays and reduces the chance of miscommunication.
This way, the support team can quickly pass tickets along the necessary levels, ensuring all teams have full context, reducing handoff friction, and improving response times.
We have discussed how third-party tools can benefit you by setting up a flexible integration between Jira and Freshdesk. We will explore how to implement that using Exalate in the next section.
How to Integrate Jira and Freshdesk Using Exalate
Exalate is an integration solution that supports multiple platforms like Jira, Azure DevOps, Salesforce, ServiceNow, Zendesk, Freshdesk, Freshservice, and more. It offers an intuitive Groovy-based scripting engine, allowing you to customize your sync at a granular level.
If you prefer a video, watch this tutorial on the entire setup, or refer to the complete guide here.
Freshdesk Jira Integration: How to Set Up a Real-time Sync
Step 1: Install Exalate on Jira and Freshdesk
Start your installation process for both Jira and Freshdesk from the Exalate integrations page. Check the detailed installation procedure for Jira Cloud, Jira on-premise, and Freshdesk.
Exalate is available for Jira Cloud and Jira on-premise, plus it can be deployed via Docker.
Note: With Atlassian’s EOL for Jira DC, a lot of Jira users are planning their migration to Cloud. Big bang migration or live migration? Read more.
Step 2: Connect Jira and Freshdesk
Now, it’s time to connect your Jira and Freshdesk instances. Exalate offers two modes for syncing data: Basic Mode and Script Mode.
- Basic Mode: For simple use cases, this mode auto-generates preset sync rules that cannot be modified. To set up, click “Initiate connection” from the Jira side, enter the destination URL, and confirm admin access. Once connected, choose a project to sync, then confirm the setup.
- Script Mode: For more customization, Script Mode allows you to create specific sync rules using Groovy scripting. After selecting Script Mode and entering the necessary details, copy the invitation code and send it to the destination instance admin to finalize the connection. Once the invitation is accepted, choose the project to sync and complete the configuration.
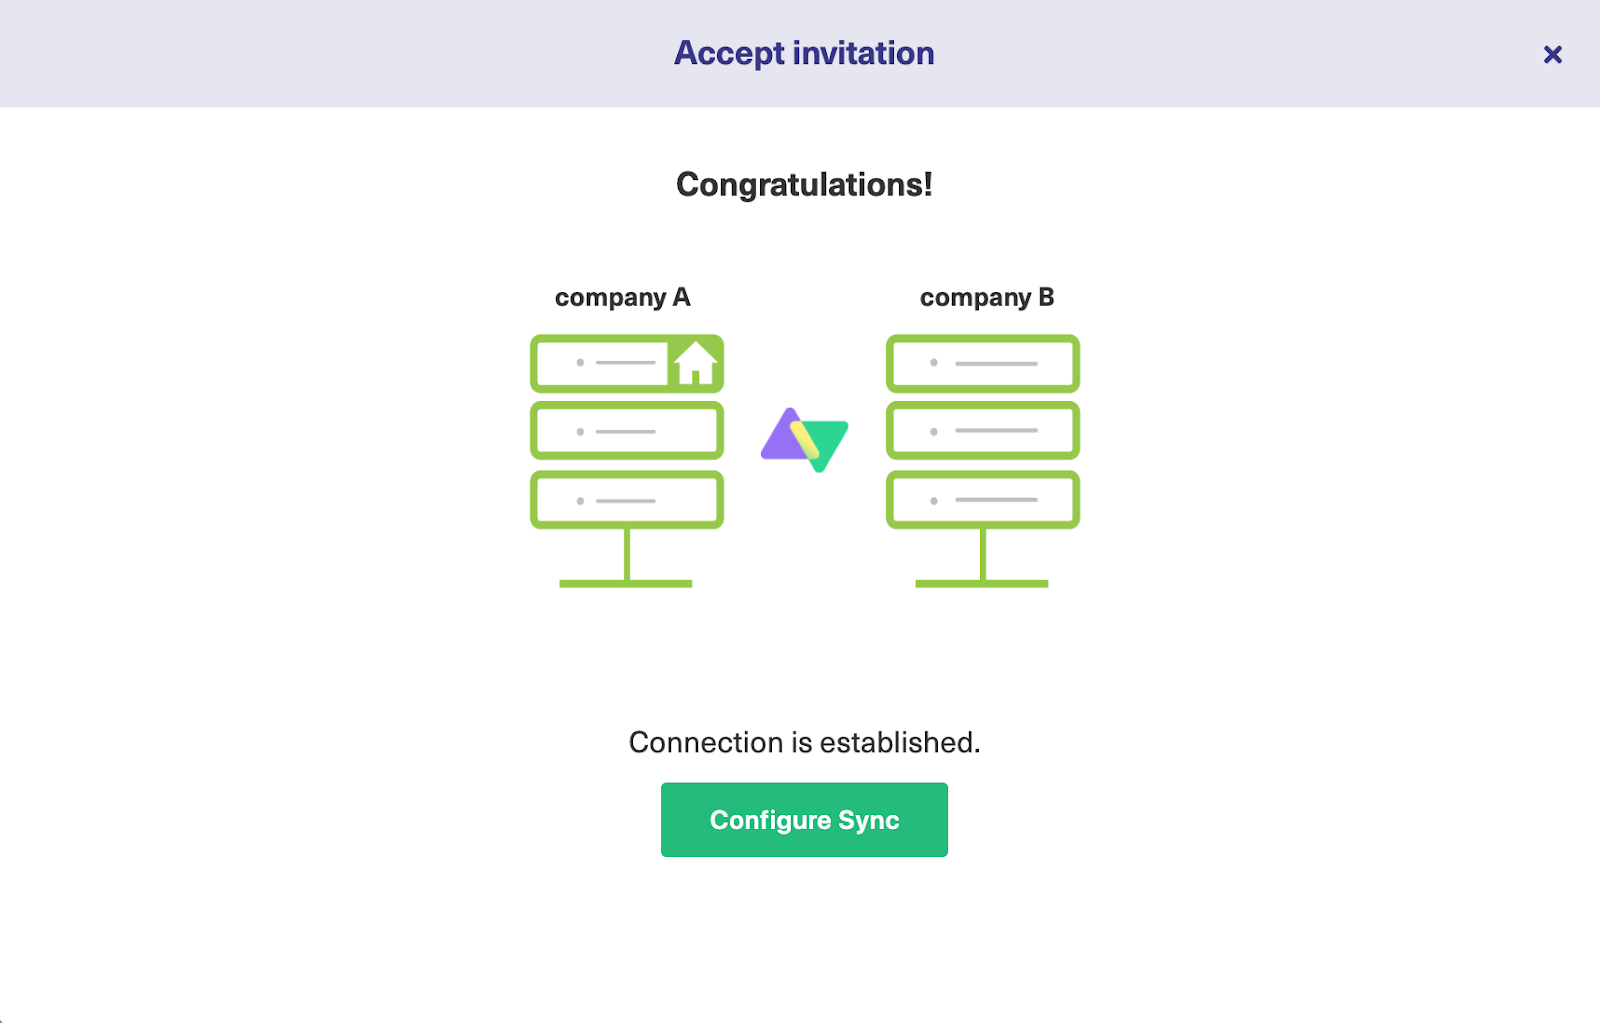
Step 3: Configure Your Connection and Sync Rules
Once the connection is established, configure your sync rules under the “Rules” tab. Here, you can decide what data gets synced between Jira and Freshdesk, such as syncing inline images or custom fields. You can customize rules for both incoming and outgoing syncs, using Groovy scripts for more control.
For simple setups, the default settings work fine, but if you need to adjust mappings or remove unnecessary fields, Groovy scripting allows for easy customization.
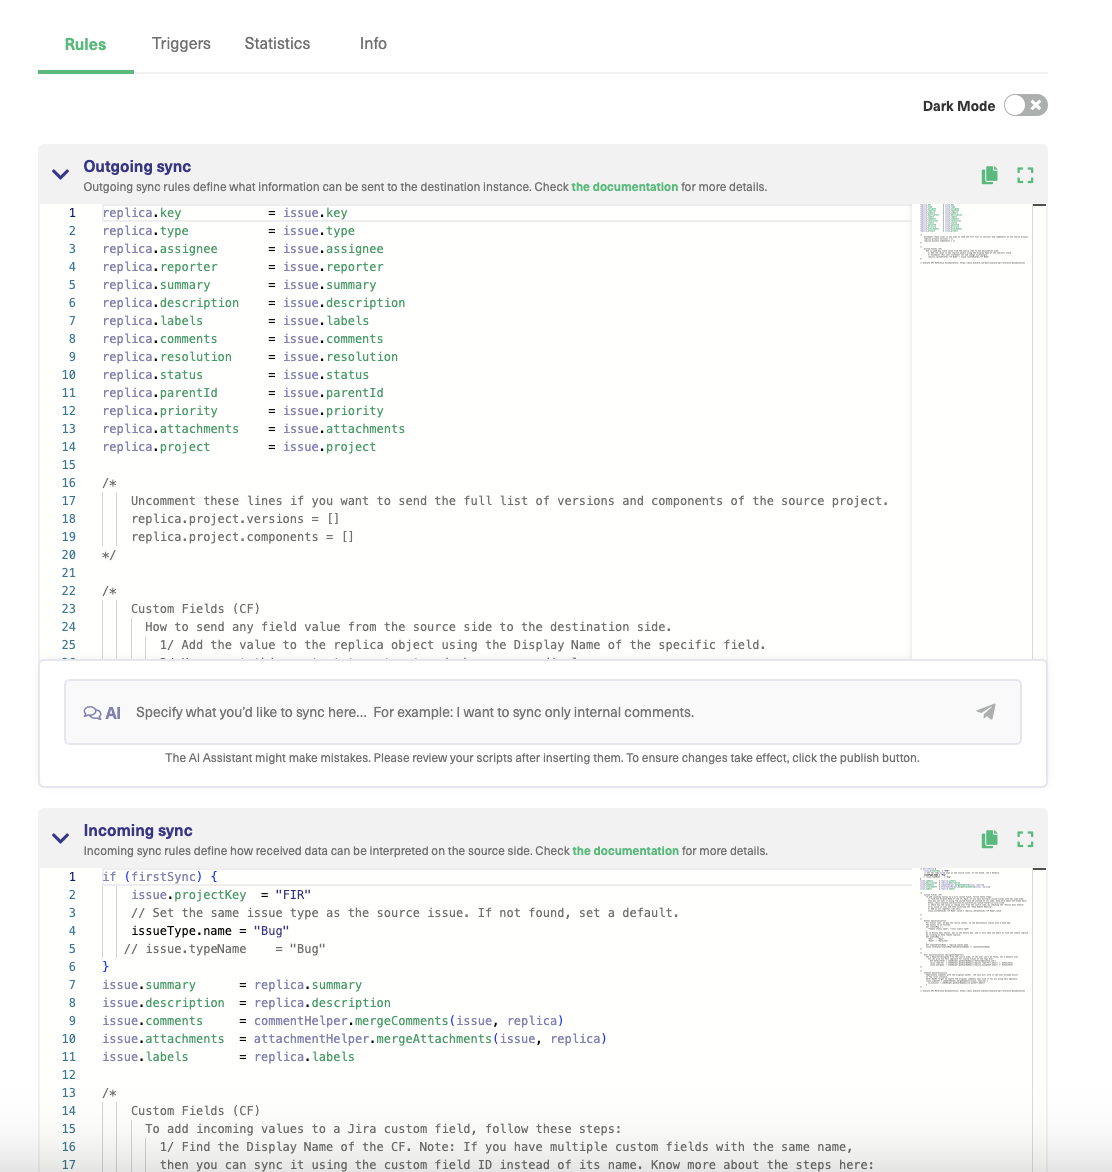
You can also use the AI Assist chatbox in the “Rules” section. Just enter what you wish to sync, and your sync scripts will be automatically generated. You’ll get the option to either accept or discard the script suggestion.
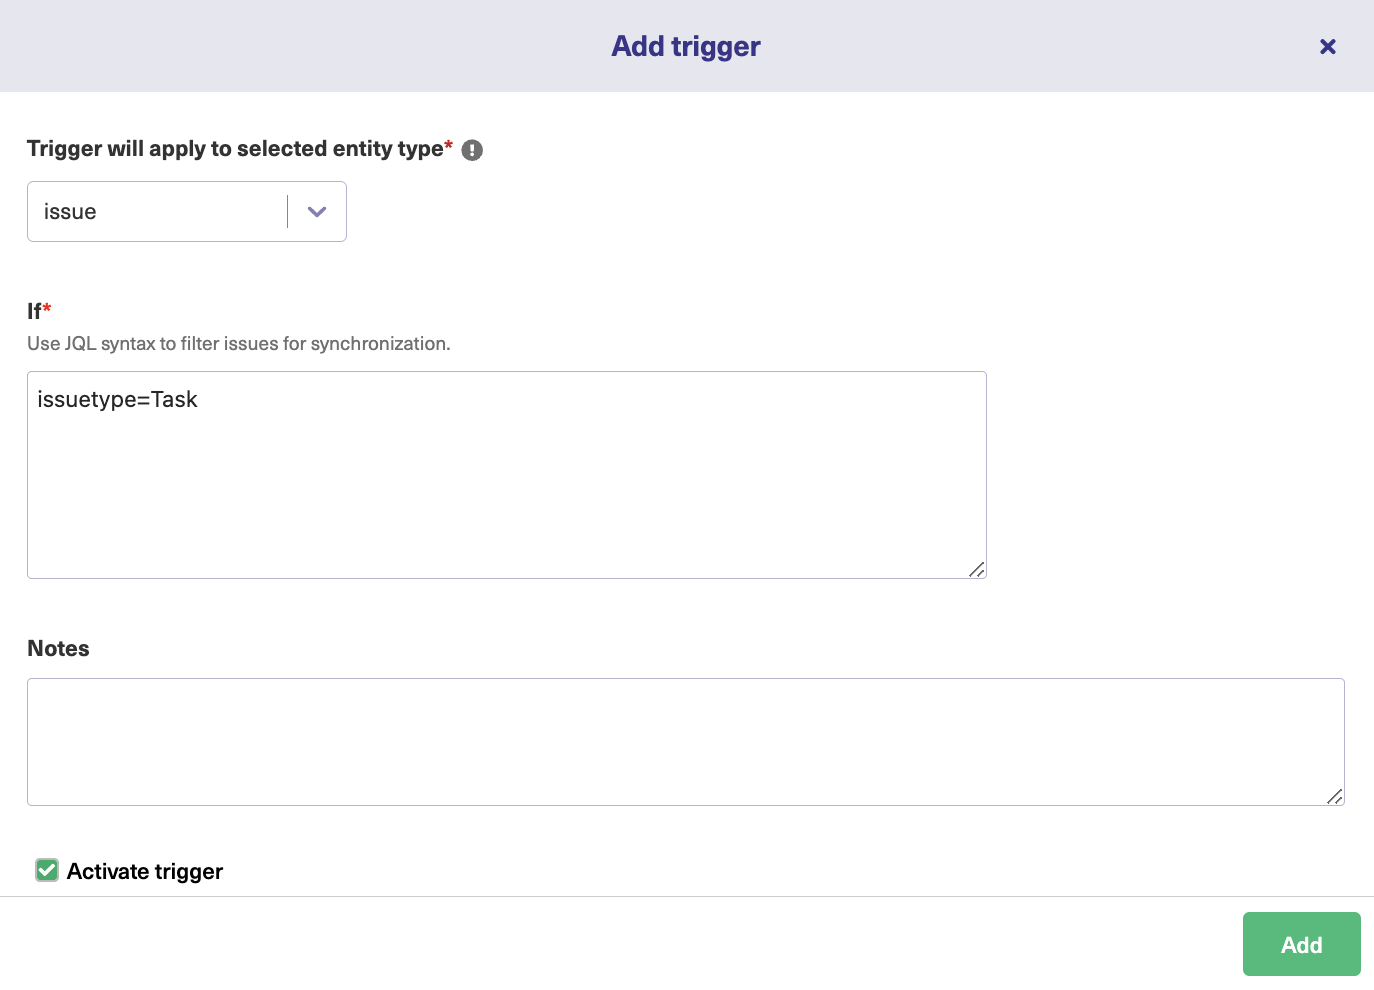
Step 4: Set Up Automated Sync Triggers
Automate synchronization by setting up triggers. These define the conditions under which items are synced. For instance, you can create triggers that sync only certain types of issues in Jira or specific ticket statuses in Freshdesk. Once your triggers are configured, they will automatically sync work items when they meet the defined conditions.
Step 5: Start Synchronizing Tasks
After configuring your sync rules and triggers, Exalate will periodically check for matching items and sync them across Jira and Freshdesk. If the sync doesn’t appear immediately, give it a few minutes, and check the connection list for updates. Continue refining sync rules and triggers as needed to ensure smooth integration.
Conclusion
There’s plenty to consider when planning an integration:
- The benefits: instant updates, reliable data exchange, and automated workflows.
- The approaches: native integration, third-party tools like Exalate, or rolling your own.
- The details – The options you’ll select and the precise way data will map between platforms.
- Best practices – including a clear definition of ownership, consistent field mapping, and regular review of your workflows and processes.
Hopefully, now you understand the power of an integration, and how integrating Freshdesk with Jira can empower your teams to deliver more.
Talk to an integration engineer and work directly with our team of experts to find the right solution for your own use case, or already start a free trial.
More Integration Articles: